The other day as I was running beside my son (who was riding his bike), holding my cellphone in my hand because my pants didn't have pockets, I realized that he needed a bag on his bike to carry stuff (like my cell phone, of course) ;) So the other night at about 10 pm I made him one. I apologize for the not so great pictures in advance, but it was 10 pm and that doesn't allow for the best lighting!

It doesn't match his bike at all, but I was trying to use what I had on hand, so this is as good as it gets. I started by measuring the space between the spots on the handle bars where the loops would go (so the width of the bag) and I measured over the handle bars (like the loops would go on top- hard to explain I guess) and then I cut my fabric. His bike handle bars were 12 inches apart, and the longest the bag could be was 6 inches to keep it from hitting the bar below (whatever it is called). I allowed for 1/2" seam allowances, so I cut the pieces I needed 1" larger than the finished size. I cut 2 pieces of main fabric, 2 pieces of lining and 2 pieces of fusible fleece that were 13" x 7". I wanted a pocket in the front of the bag, so I cut a piece of main fabric and a piece of fusible fleece that were 4.5" x 13" the lining for the pocket I cut 5" x 13" (you'll see why shortly). The straps to hold it on were 6" x 3" (I think).

Iron all the pieces and iron the fusible fleece to the wrong side of the main fabric.

Iron the strap pieces and turn the sides in and iron again.


Then fold in half and iron again so you have a finished looking strip of fabric.


Turn 1 short edge in and fold back in half and sew around 3 sides (2 long sides and 1 short side) the other side doesn't need to be finished because it will be inside the bag.


I needed the straps to be 5 in outside the bag, so I measured 5 in down and applied velcro to the top edge and 5 in down.

Finished loops:

Now to make the pocket for the front, place your pieces right side together and line up the top- the bottom of the lining will NOT line up with the bottom of the main fabric. (Love my lens cover in the pic? lol)

Sew across the top with about a 1/2 in seam. I actually just use the edge of my sewing foot. Iron the lining up from the main fabric:

Then fold the lining over the back of the main piece allowing the fusible fleece to make a little border of the lining (now the ends should basically meet)

And there will be an edge of the lining at the top:

Place the pocket on the one of the large pieces that will eventually be the front of the bag.

Now place the other large piece, right sides together, on top of the other 2 pieces:

Pin the sides and bottom and sew around:


Clip corners

I decided I wanted a box-like bottom, so i pushed the corners out and folded the piece together so that the seams were lined up on the inside then i sewed a straight line about one inch from the corner: (do this on both sides)

Then trim the excess:

Turn the bag right side out and start on the lining:

Place the 2 pieces right sides together and sew around 3 sides, leaving about a 3 inch opening in the bottom of the lining (this is really important later!)

Sew the corner edge so that it will match the main piece:

Here is the opening:

Kind of hard to see in this super bright photo, but place the main piece of the bag in the lining, with right sides together:

Line up the corner seams, and add the loops in the back of the bag- on the inside of the 2 fabrics! Be sure that the velcro is facing the lining- this picture is wrong- I had to fix it!

Pin around the top of the bag and sew the entire top edge:

Turn the bag right side out through the hole in the lining: We're almost done!

Sew the hole closed and push the lining inside the bag. Then sew a topstich around the top of the bag. I do it as close to the edge as I can.

Then put it on your little man's bike! Or little lady...


 It doesn't match his bike at all, but I was trying to use what I had on hand, so this is as good as it gets. I started by measuring the space between the spots on the handle bars where the loops would go (so the width of the bag) and I measured over the handle bars (like the loops would go on top- hard to explain I guess) and then I cut my fabric. His bike handle bars were 12 inches apart, and the longest the bag could be was 6 inches to keep it from hitting the bar below (whatever it is called). I allowed for 1/2" seam allowances, so I cut the pieces I needed 1" larger than the finished size. I cut 2 pieces of main fabric, 2 pieces of lining and 2 pieces of fusible fleece that were 13" x 7". I wanted a pocket in the front of the bag, so I cut a piece of main fabric and a piece of fusible fleece that were 4.5" x 13" the lining for the pocket I cut 5" x 13" (you'll see why shortly). The straps to hold it on were 6" x 3" (I think).
 Iron all the pieces and iron the fusible fleece to the wrong side of the main fabric.
 Iron the strap pieces and turn the sides in and iron again.
 Then fold in half and iron again so you have a finished looking strip of fabric.
 Turn 1 short edge in and fold back in half and sew around 3 sides (2 long sides and 1 short side) the other side doesn't need to be finished because it will be inside the bag.


 I needed the straps to be 5 in outside the bag, so I measured 5 in down and applied velcro to the top edge and 5 in down.
 Finished loops:
 Now to make the pocket for the front, place your pieces right side together and line up the top- the bottom of the lining will NOT line up with the bottom of the main fabric. (Love my lens cover in the pic? lol)
 Sew across the top with about a 1/2 in seam. I actually just use the edge of my sewing foot. Iron the lining up from the main fabric:
 Then fold the lining over the back of the main piece allowing the fusible fleece to make a little border of the lining (now the ends should basically meet)
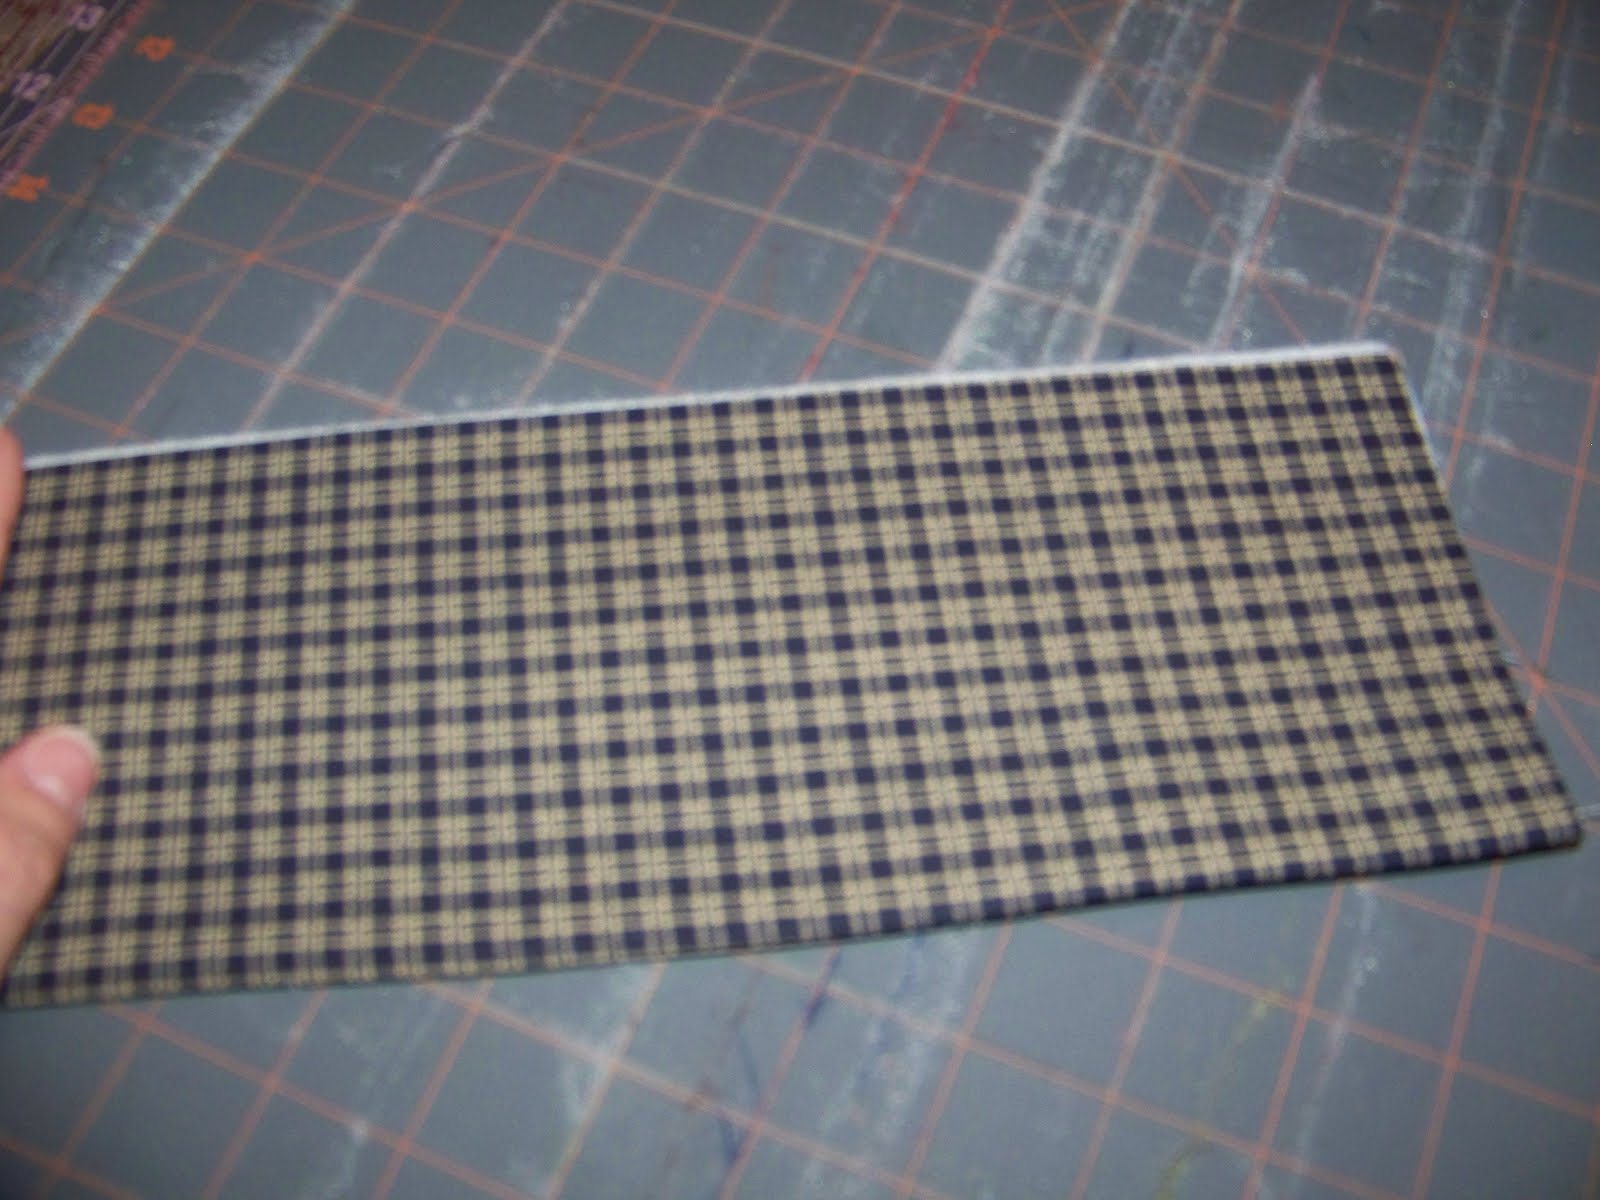 And there will be an edge of the lining at the top:
 Place the pocket on the one of the large pieces that will eventually be the front of the bag.
 Now place the other large piece, right sides together, on top of the other 2 pieces:
 Pin the sides and bottom and sew around:
 Clip corners
 I decided I wanted a box-like bottom, so i pushed the corners out and folded the piece together so that the seams were lined up on the inside then i sewed a straight line about one inch from the corner: (do this on both sides)
 Then trim the excess:
 Turn the bag right side out and start on the lining:
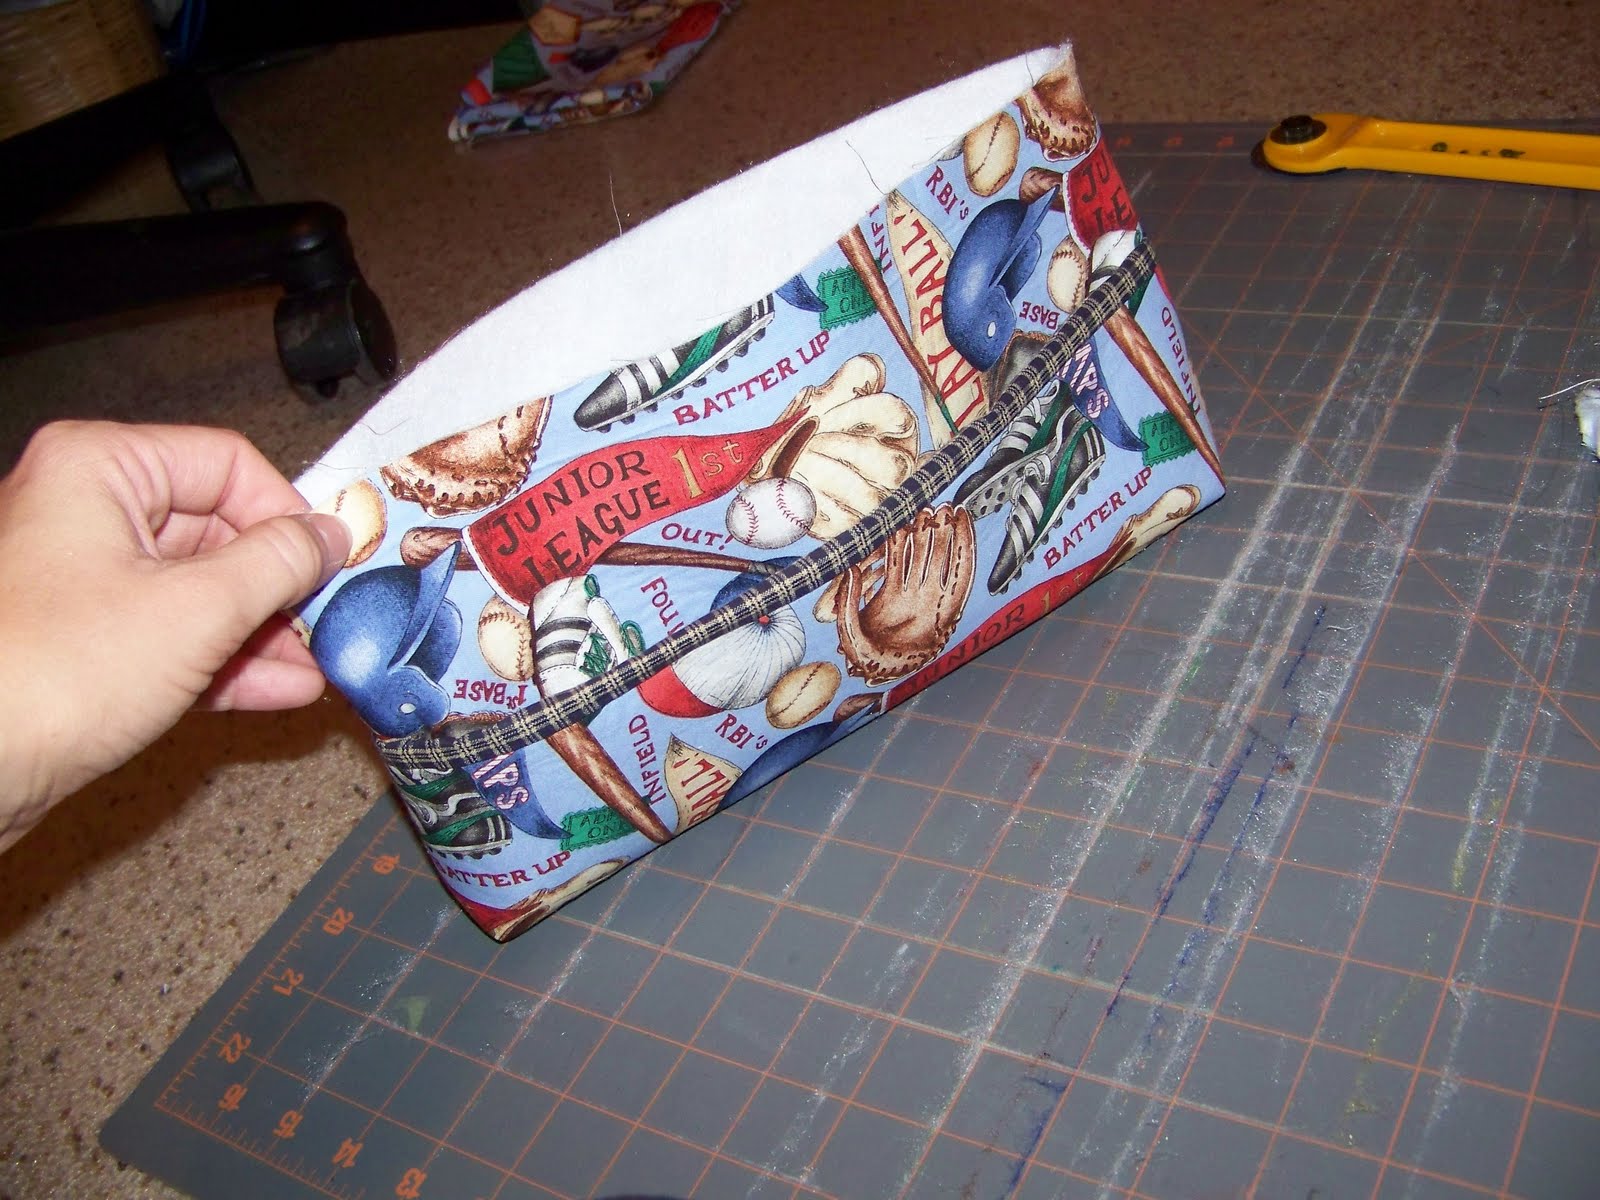 Place the 2 pieces right sides together and sew around 3 sides, leaving about a 3 inch opening in the bottom of the lining (this is really important later!)
 Sew the corner edge so that it will match the main piece:
 Here is the opening:
 Kind of hard to see in this super bright photo, but place the main piece of the bag in the lining, with right sides together:
 Line up the corner seams, and add the loops in the back of the bag- on the inside of the 2 fabrics! Be sure that the velcro is facing the lining- this picture is wrong- I had to fix it!
 Pin around the top of the bag and sew the entire top edge:
 Turn the bag right side out through the hole in the lining: We're almost done!
 Sew the hole closed and push the lining inside the bag. Then sew a topstich around the top of the bag. I do it as close to the edge as I can.
 Then put it on your little man's bike! Or little lady...

Cute! I also run while my son rides his bike, so this is going to be great for me!
ReplyDeletewhat a great idea!! :)
ReplyDeleteWell done! Now I wonder how I would hook that on a skateboard.... :) Thanks for sharing...I've posted a link.
ReplyDeleteThanks for linking up to Tot Tuesdays! What a clever idea & a great tutorial. I hope you’ll join me again next week! ☺
ReplyDelete