I was kind of surprised this morning when the mail lady pulled up to the mail box and then backed in and beeped. I wasn't expecting anything (cause I only get good stuff if I order it, of course!) So you can imagine how excited I was to get this:

And inside were all these amazing goodies!!!

My dear friend Kim moved to Virginia a few months ago (so sad that she's gone...) and she sent me this great package! It had the most adorable card that was embroidered:

Look at these cute little birds!

A book by Francine Rivers- it looks great! I better hurry and read the other 3 that are waiting for me!

A Bible study! This is exactly what I've been looking for- like a workbook. I have to actually do something because just reading doesn't keep my attention when it comes to absorbing material.

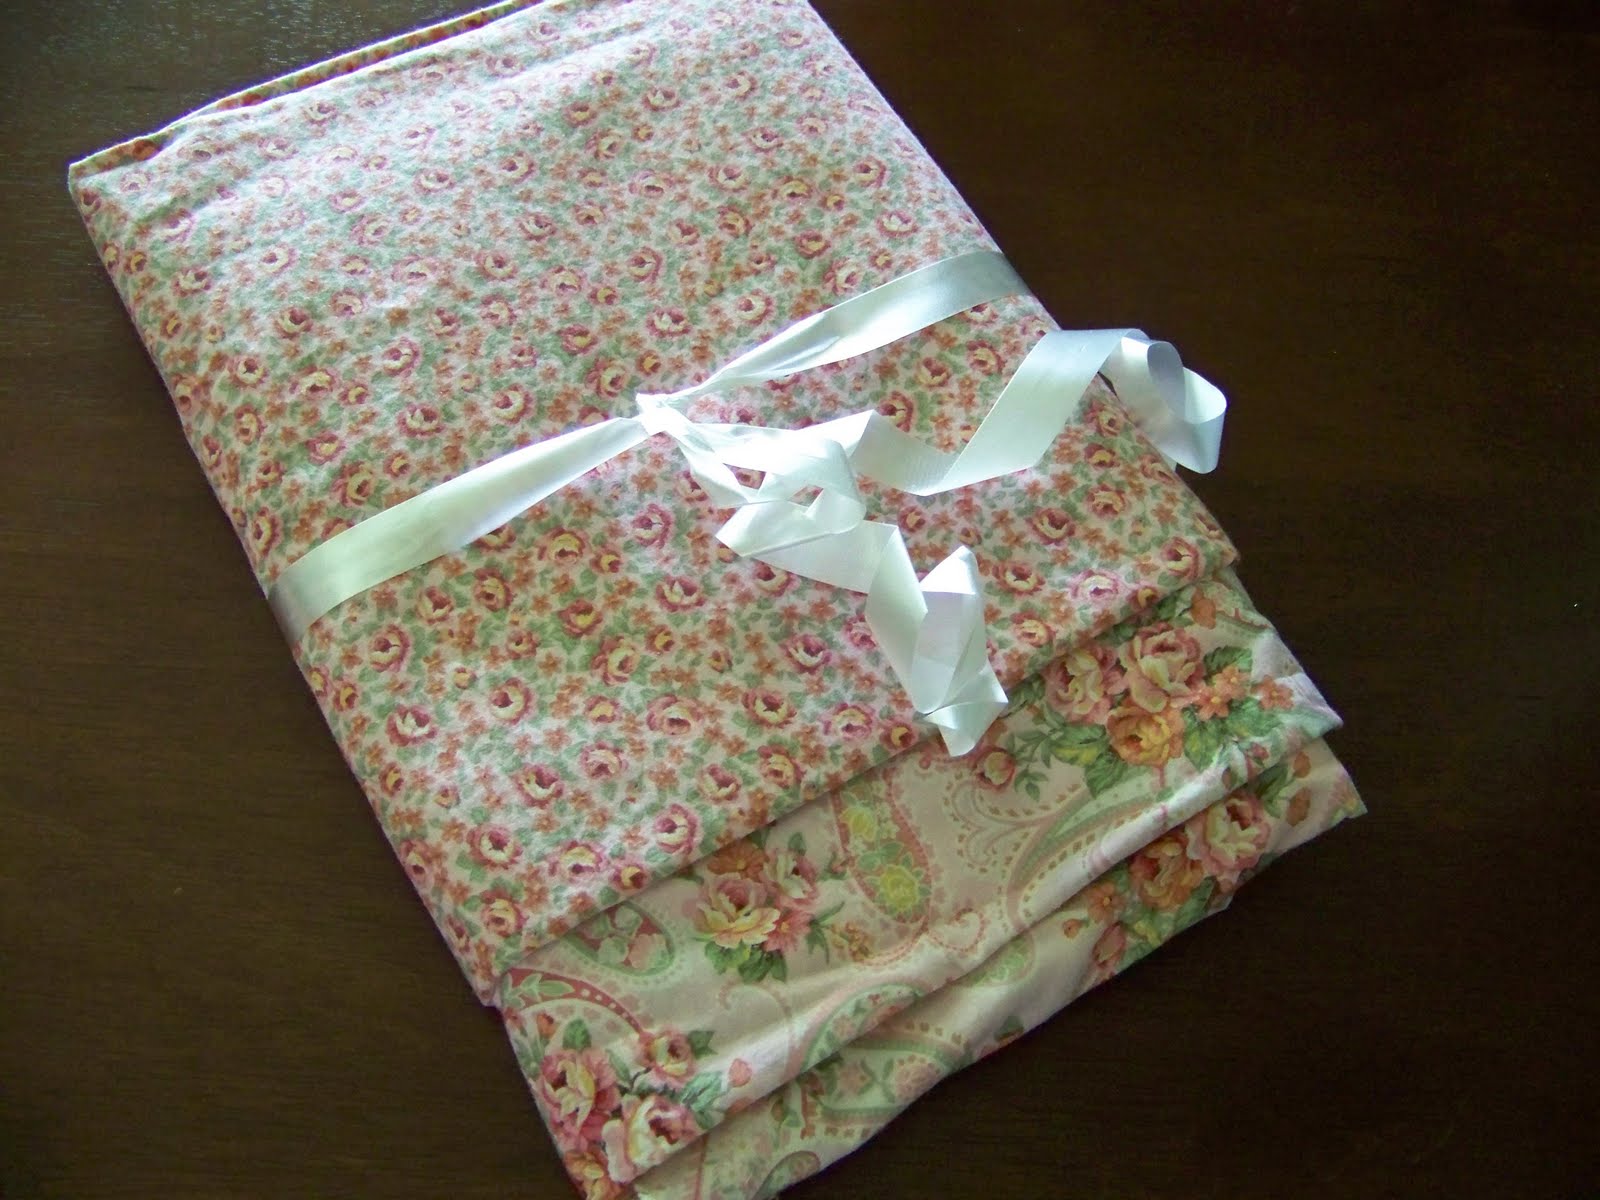
And like 4 yards of material! Yes- 4 yards of beautiful pink material! How awesome is that! The note said to make something for myself, but I haven't a clue what I will make. A dress maybe?

Look how pretty it is! I love it!

Isn't she the sweetest thing? What a wonderful friend. I miss having her here, though!

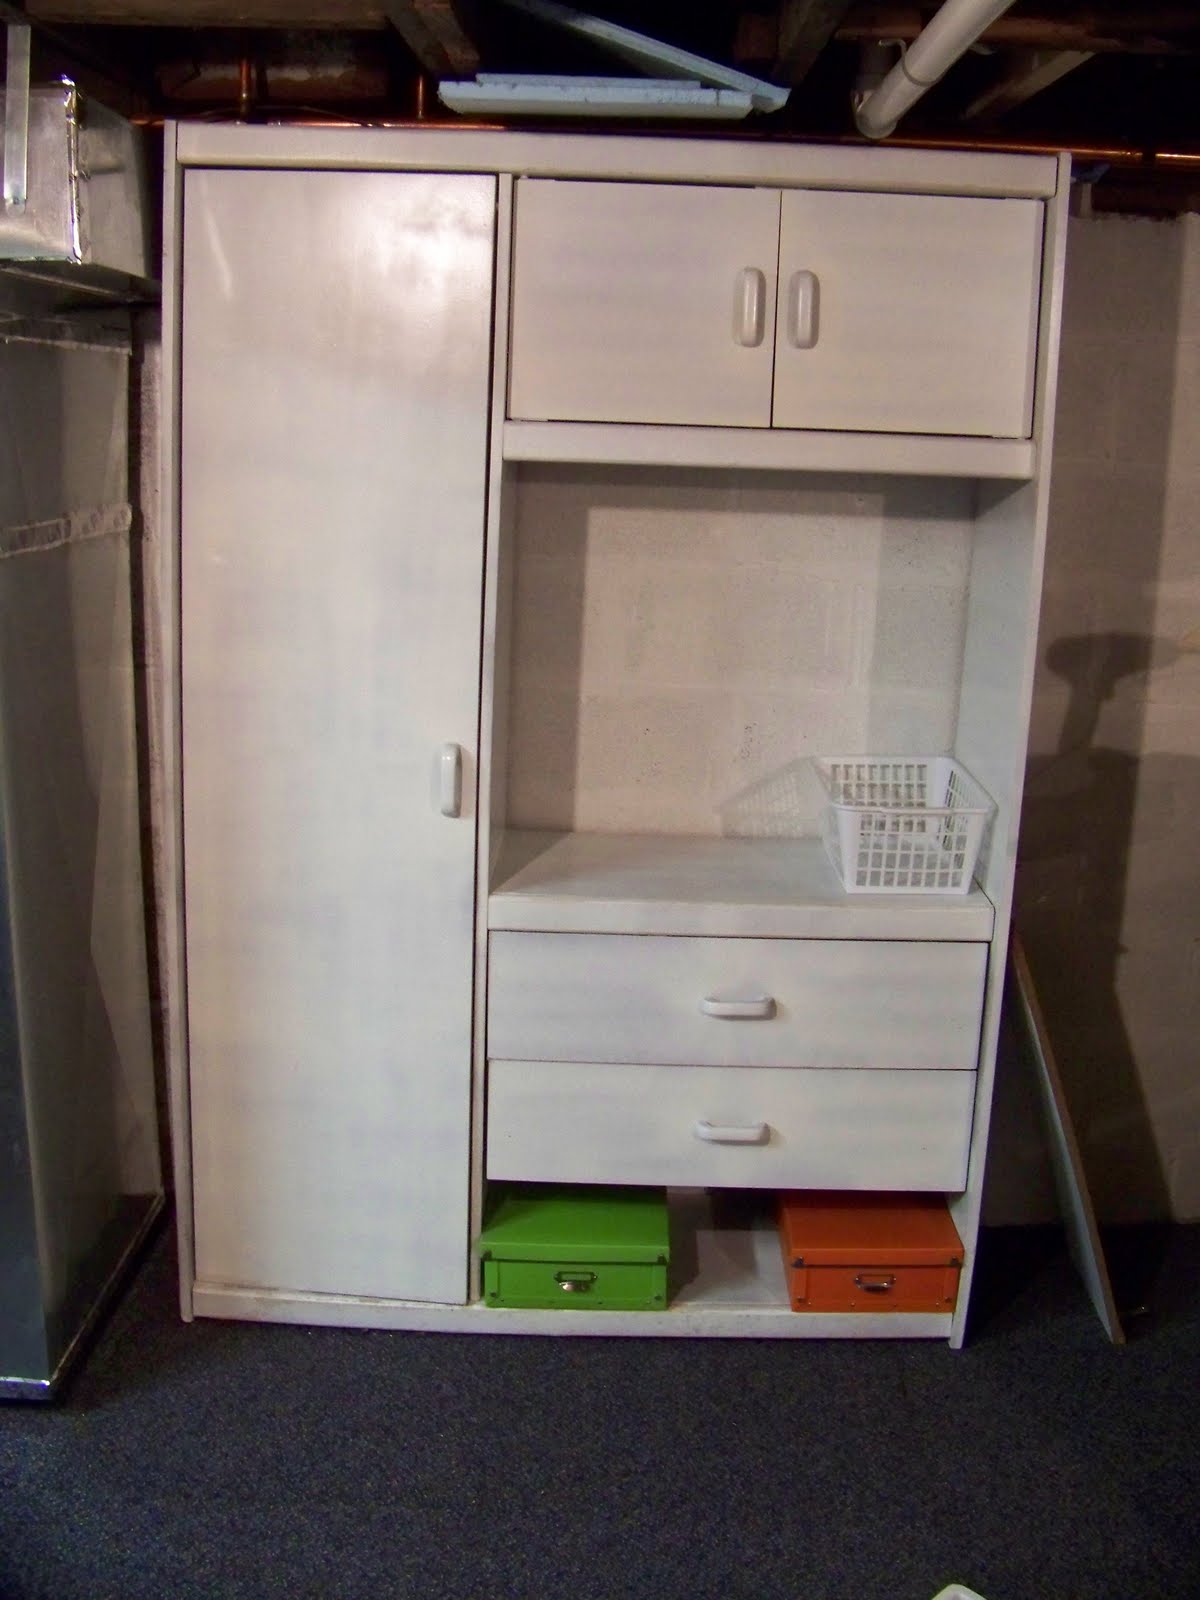
And now, moving along to a recent *not so great* makeover (as mentioned in an earlier post about things not going so swell...) Here is a cabinet I picked up from the side of the road. Okay, so I didn't pick it up- I helped my dad. I was sooooo excited to have something to put my sewing stuff in, and I just
knew I could make this pretty again!

So, me being the impatient one that I am, got to work and sanded the entire thing then used a 1 in foam brush and primer and covered the entire thing. Yes- with a 1 in brush. Heaven forbid that I wait and get a little roller from my parents the next day. Isn't that crazy? Well, that's not the craziest part actually.

The next morning when I checked, the primer would just rub/scratch right off. Oh my goodness. I was so disappointed. I spent a lot of time sanding and priming (especially with that little bitty brush!) and I was pretty bummed thinking the entire thing was ruined. The only other thing I could think of was to use Krylon Fusion paint that is made for plastics. I mean, if it sticks to plastic it should stick to this, right?! I hadn't planned on spending money like that, but what's a girl to do?

I sanded the primer off and tested an area with the fusion. Hooray! It worked. I was glad that all wasn't lost. Of course, now I had to sand the entire thing and repaint it. Good grief. Not my idea of fun. As I'm going to town with my sanding block, my mother (genius that she is!!!) mentions "um, your dad has an electric sander..." (like duh, Amanda)

So, enter my new BFF. At least for this project he was! This totally saved my back and arms, I'm sure. Not to mention a lot of time. So I was, once again, excited.

Here we go. Almost back to square one. Re-sanded. When I went to wipe it down with a cloth to remove the dust all the primer washed off. It was gross. Yucky water and I was scrubbing. I spent a few hours on this part alone. blah.

So a couple coats of spray paint later... (4 cans as a matter of fact, and they only had this white color that would go with my room. I really wanted the peachy orange to match the far wall...) I didn't do much on the inside stuff that wouldn't be seen. Actually, I didn't paint inside the upper cabinets at all. I didn't want to have to buy more paint and I needed several coats on the outside.

The drawers were a mess, but I just
knew I could fix them too. And I did. Sort of. They aren't perfect, but they were *mostly* free.

Moved it to the basement...

Added the door and drawers (one drawer was missing, so the bottom became a make-shift shelf)

Started loading it with stuff!

My fabrics are hidden in this tall side.

More stuff in the totes. I got those boxes a while back at Walmart for 6.00 total. I originally intended to use them for my son's toys, but it wasn't too great since you can't see in them, and he constantly drug them all out looking for stuff.
I also added a flower to match my wall. I wanted the cabinet to be all peachy-orange but since that wasn't panning out, I figured a flower was better than nothing. I still think it needs something, but I'm not sure what to do.

Anyway, another mediocre project. It just wasn't a great crafting week for me! But, the cabinet cost about 25.00 total and it hides my stuff, so I won't complain...... too much....

Linked to some/all of
these great linky parties

 This is how it ended up!
 I made homemade barbed wire with a couple strands of a little more pliable wire
 I drew this skull and crossbones because I don't have that cricut cartridge!


 Here it is at it's new home!
  Here Bailey! What do you think?
 Happy dog? I think so. :)


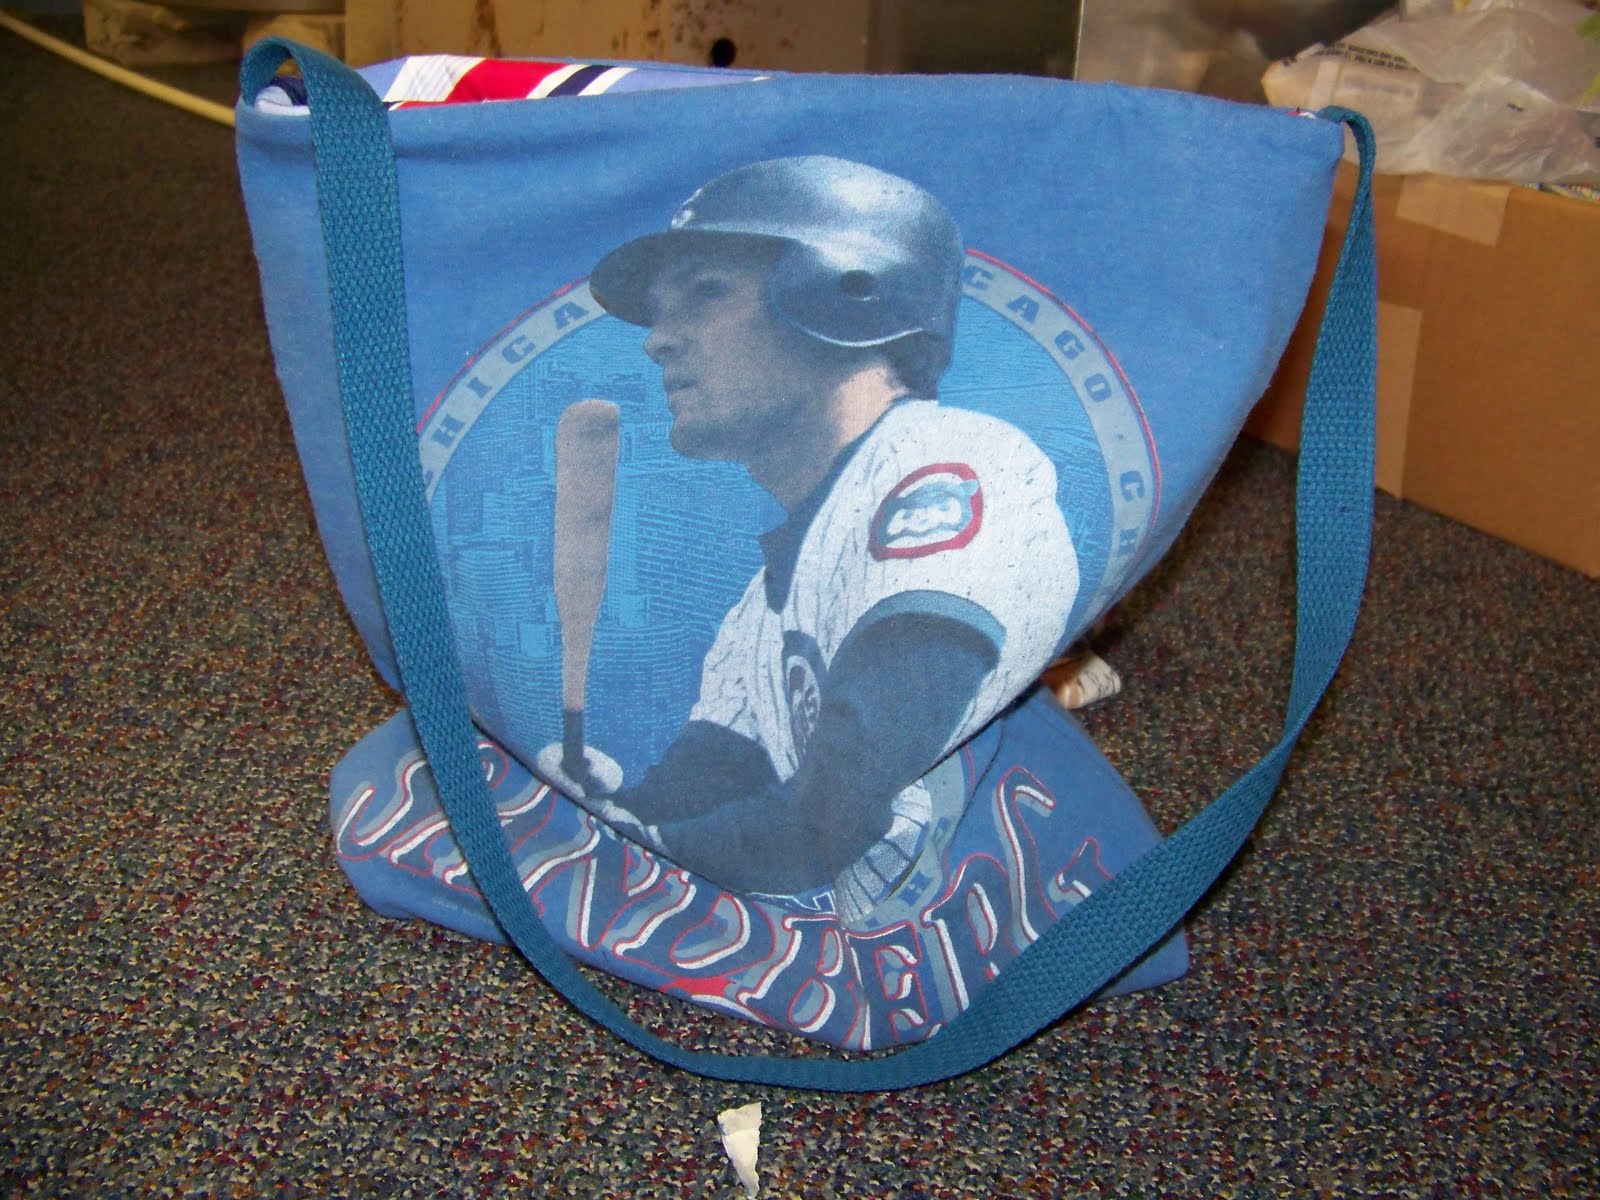
 Maybe the fact that there's a hottie on there will make up for the poor worksmanship!