"My skin is kind of sort of brownish pinkish yellowish white.
My eyes are greyish blueish green, but I'm told they look orange in the night.
My hair is reddish blondish brown, but it's silver when it's wet,
And all the colors I am inside have not been invented yet."
-Shel Silverstein

Thursday, April 8, 2010

My son's super cool camping room

I have seen a lot of blogs where people show the ways they have redone their houses, and I think that I could definitely share some frightening before pictures and some amazing after pics! I can't take much credit for any of them, with the exception of drawing what I wanted the house to look like on a piece of graph paper and then waiting till things were ready to paint, but my dad did an AMAZING (and I mean seriously awesome) job on my house. He pretty much worked single handedly (he wouldn't have it any other way, trust me...) and the results are nothing short of incredible. So, anyway, here are some before pictures of the area that is now my son's room. It would have been the main bedroom, because the other bedroom was TINY- I mean super small. Like 8 ft by 9 ft small. But none of the rooms are the same now. This is just the area that his room now occupies.

Yup. It's really that bad. And you can't even tell how badly it smelled by the picture. I'm guessing the people who lived in this house before we got it had about 700 cats. All in the house. All peeing on the walls. Seriously.

And there is actually a window boarded up in the closet. I'm not joking. They boarded up a perfectly good window to make a closet. There was a wall on the opposite side of the room with nothing on it that would have made a perfect closet. But no, they chose the window wall.

So here is his AWESOME redone room:

Never mind that his bed isn't made perfectly- he was napping when I was taking the pictures. Here is the opposite wall. How cool is this?


Here are some of the "in progress" photos. The painting was basically done, but the trim wasn't up and the carpet wasn't in.


Did you notice a little pig hiding next to the closet? Yeah, that's Wilbur. After all the camping mural was painted my son decided that he wanted Wilbur in his room. Silly kid. So there is "shy" Wilbur hiding on the other side of the closet door. My mom and her friend Amy did the mural and they did a wonderful job! Here are some of the extras that make his room really special:
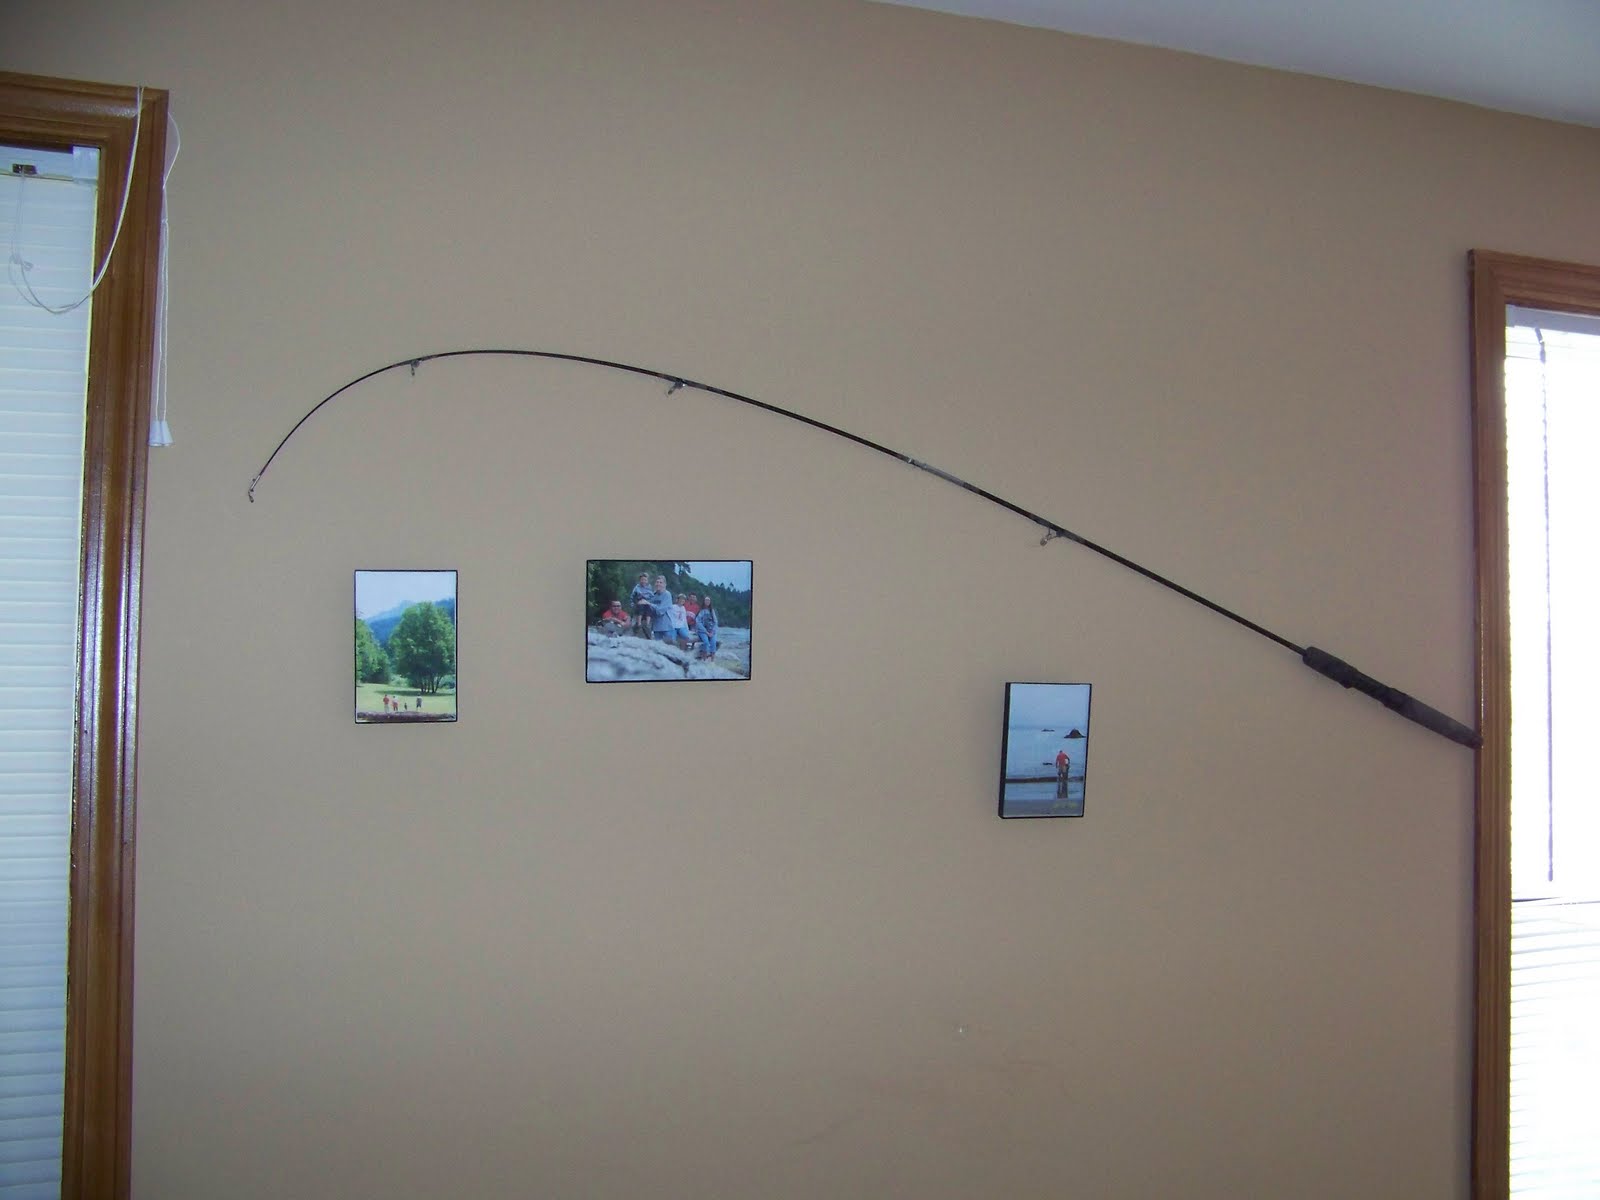

Just an old fishing pole that was here when we got the house. I hung some picture frames from it with pictures of our California vacation. Very cute!
This was one of his birthday presents 2 years ago from my mom and dad. My dad made it (okay, how awesome is he?!)

And a shirt that my brother made for my son with an actual fish! I framed it because it's still to big for him to wear. But it's all still intact so some day he can wear it.


Just another picture of the mural. I think his room is super cute and so much fun for a little boy!


Get your craft on Thurs.


Join us Saturdays at tatertotsandjello.com for the weekend wrap up party!
Keeping It Simple

Tuesday, April 6, 2010

Chick Runner

Since we were having Easter at my house, I thought I needed something a little "springy" to add to the table and jazz things up a little. So here are pictures of the little chick runner I made. I found some inspiration on the internet and went to town!


Linking up to:

DIY Day @ ASPTL


BWS tips button

Get your craft on Thurs.

Join us Saturdays at tatertotsandjello.com for the weekend wrap up party!

Monday, April 5, 2010

Magnetic Board

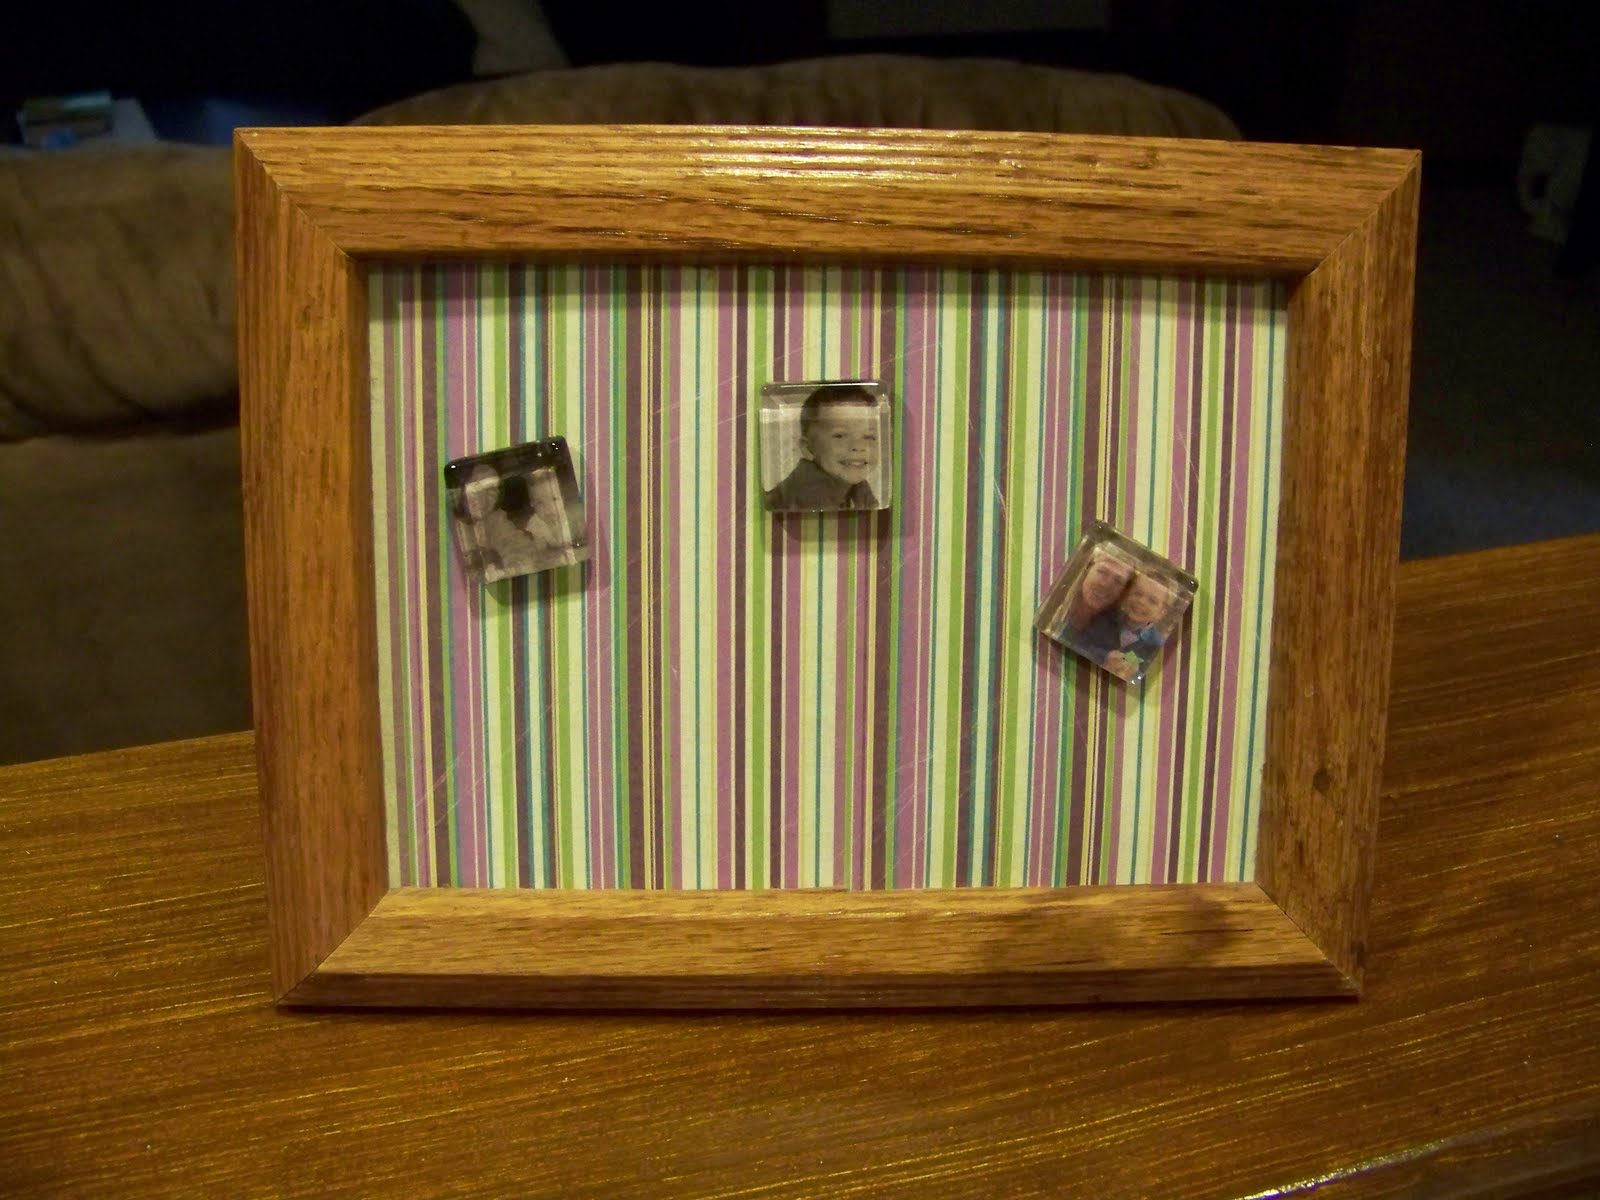
I wanted to make my aunt some cute magnets for work, but I didn't think she'd have anywhere to stick them, so I made her a little magnetic board for her desk! The best part is that it was from stuff I had laying around! I had this old frame that was missing the glass. It had the back, but I didn't have it in for the picture.
I have lots of 5x7 galvanized steel step flashing left over from Christmas presents I made, so I used one as a template to cut a piece of scrapbook paper that I liked.


I thought that I'd just put the paper in front of the steel so that I could easily change it for seasons or holidays, but the frame was kind of cheap and didn't really hold it tightly, so I put 3 pieces of double sided tape and attached the paper to the steel.


Here it is with just the plain magnets (before I got the cute ones made)

And again, the finished product! Easy and cute!


Linking up to:


DIY Day @ ASPTL

BWS tips button


Get your craft on Thurs.

Thursday, April 1, 2010

Something I'm Planning

I found out about a blog called Craft Hope not too long ago, and I stopped in there this evening to see what the latest craft project is.  Well, I think it's one I can help with.  I am going to give it my best shot, anyway.  It is making bean bags for orphans in Liberia. Not just plain bean bags, but educational ones.  So I'm even more for that!  Check out the link here.  Super cool idea, and I think it's certainly doable.  I'm sure that my mom will help me, and maybe I can get others excited about it too!  I'll try to post some photos when I'm done!  Maybe even some "in progress" ones!  :)

Craft Hope Spreading seeds of hope one stitch at a time

Tuesday, March 30, 2010

Custom Jars

I made these cute little jars the other day, inspired by Martha's etched jars. I just felt like I wanted something I could change when I wanted to, so I added my own little twist.


Then I made one for my aunt, who needed a little space to save some tax money! Her's isn't changable since she isn't allowed to use it for anything but taxes! :)
I started with this jar:
Then used Metallic spray paint to make the lid pretty

2 coats did the trick.

While that was drying, I used goo gone (wonderful!) to get the gunky stuff off the jar
Then I taped off a square that I wanted to spray with chalkboard paint and painted it with 2 coats of chalkboard paint

After it was dry, I thought it was a little boring:
So I added an etched design above and below the chalkboard area.
I just made a little design on contact paper and put it on the jar, then cut the design out with an x-acto knife
Apply armor etch generously and let it sit for 10 or 15 min. I have seen where many people say to remove it after 5 minutes and reapply, but I found that it makes no difference if you take it off and reapply, but sometimes I ended up moving a bit of the contact paper and ruining my design, so now I just leave it on the entire time.
Be sure that your etching creme doesn't run-

(While you're waiting 15 mintues for it to etch, you can make another craft- that's what I did! I will post it later)
Rinse the armor etch off in the sink:

Remove the contact paper and you're done!


Then there is the version with just the etching- I just used scotch tape and contact paper. I think they turned out pretty cute!


Linking up to:


DIY Day @ ASPTL


BWS tips button


Organize and Decorate Everything